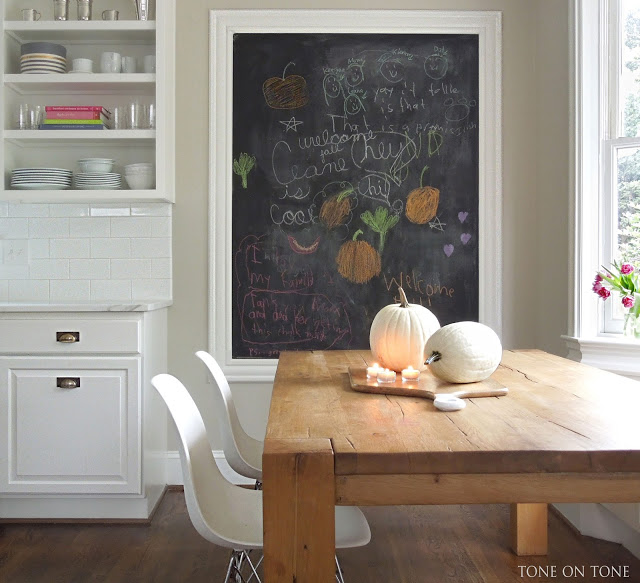
Ceane, my friend and client, and I were chatting about all the changes in her newly updated kitchen (the one I wrote about here), and what else was left for us to tackle. Artwork came up, and I knew we had to inject a pop of something bold, colorful and fun for this family of five. Ceane and her husband have three adorable children plus a mischievous puppy. I immediately thought of an oversized chalkboard. How cute would it be to have the kids create their own art?! Plus it would certainly keep them busy while mom and dad make supper. And, the chalkboard would add a cool yet casual vibe to this historic home.Before we look at the chalkboard, let’s recap the kitchen makeover:
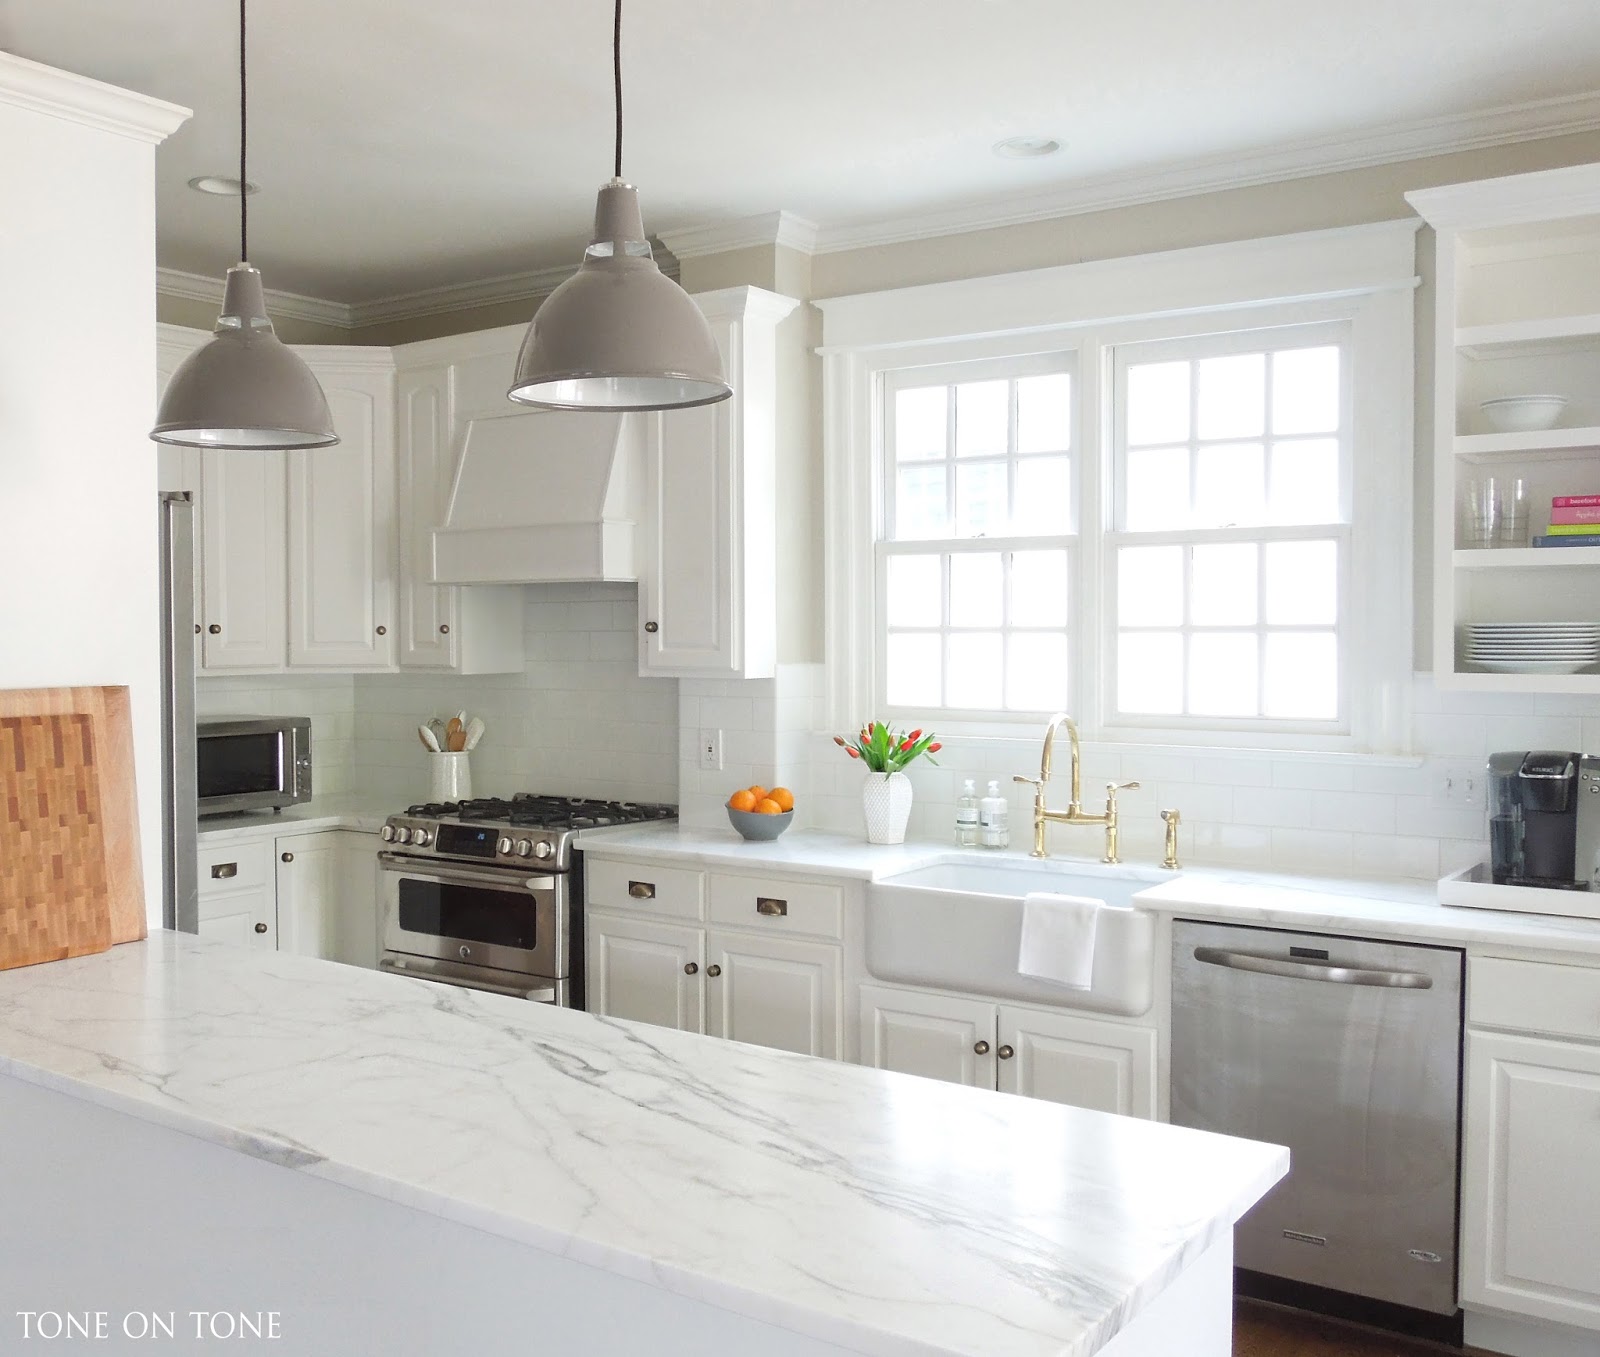
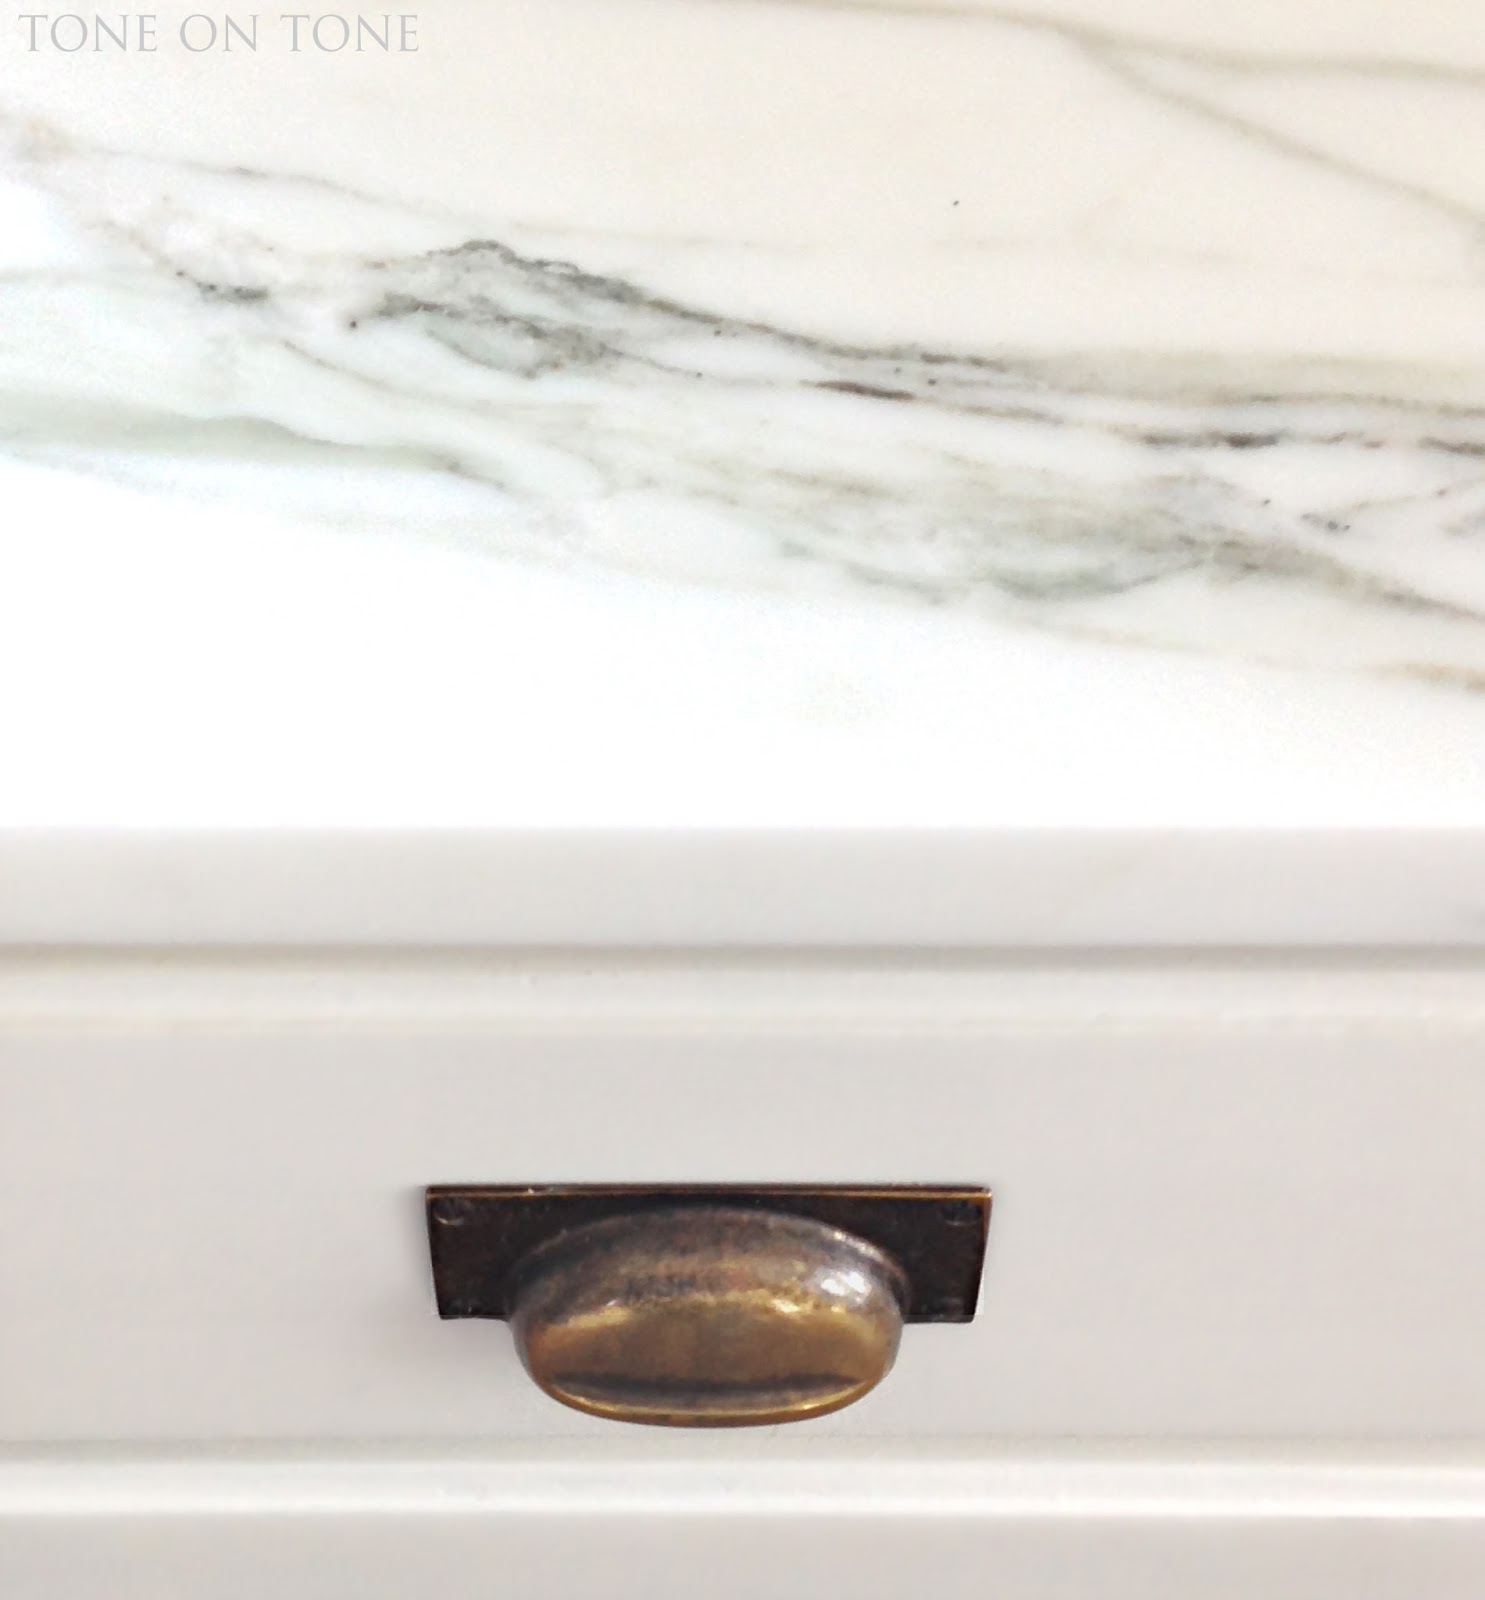
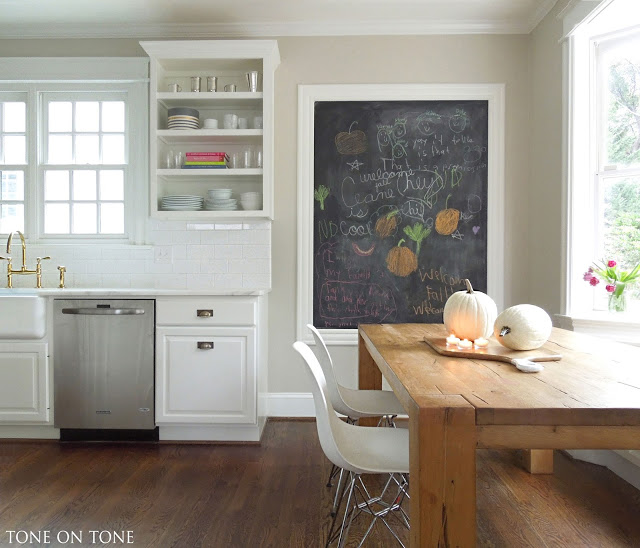
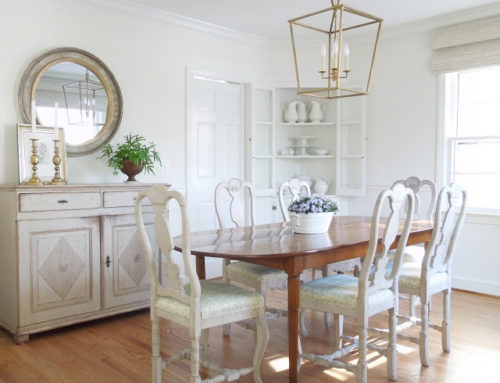
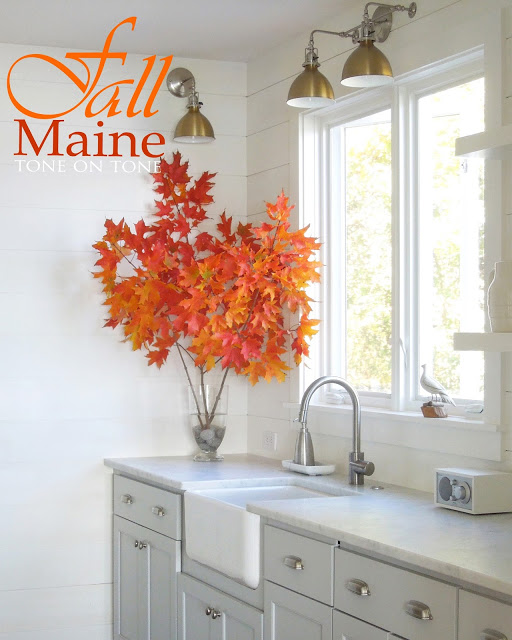
Instead of gutting the kitchen, we had the cabinets repainted. New appliances replaced tired and dated ones. New Calacatta Gold marble countertops, 4″ x 8″ subway tiles, and divided-light windows brought back classic charm to a space that had been previously renovated with a hodgepodge of materials. The piece de resistance, which we all agree, is the unlacquered brass faucet over a farmhouse-style sink – both added during the makeover. I suggested the unlacquered brass finish to complement the original brass hardware that we reused.

ABOVE: The gleaming faucet set about a month ago.
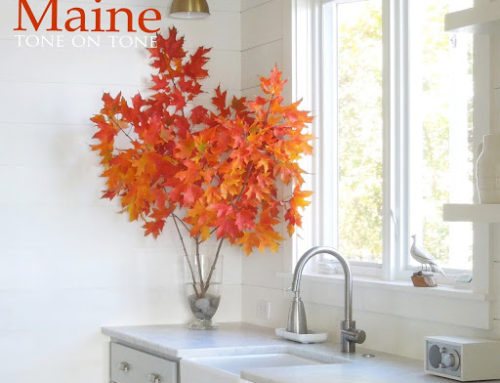
BELOW: Today the ‘living’ patina is a bit darker, more mellow. It’s interesting to see the finish change weekly.
BELOW: Today the ‘living’ patina is a bit darker, more mellow. It’s interesting to see the finish change weekly.
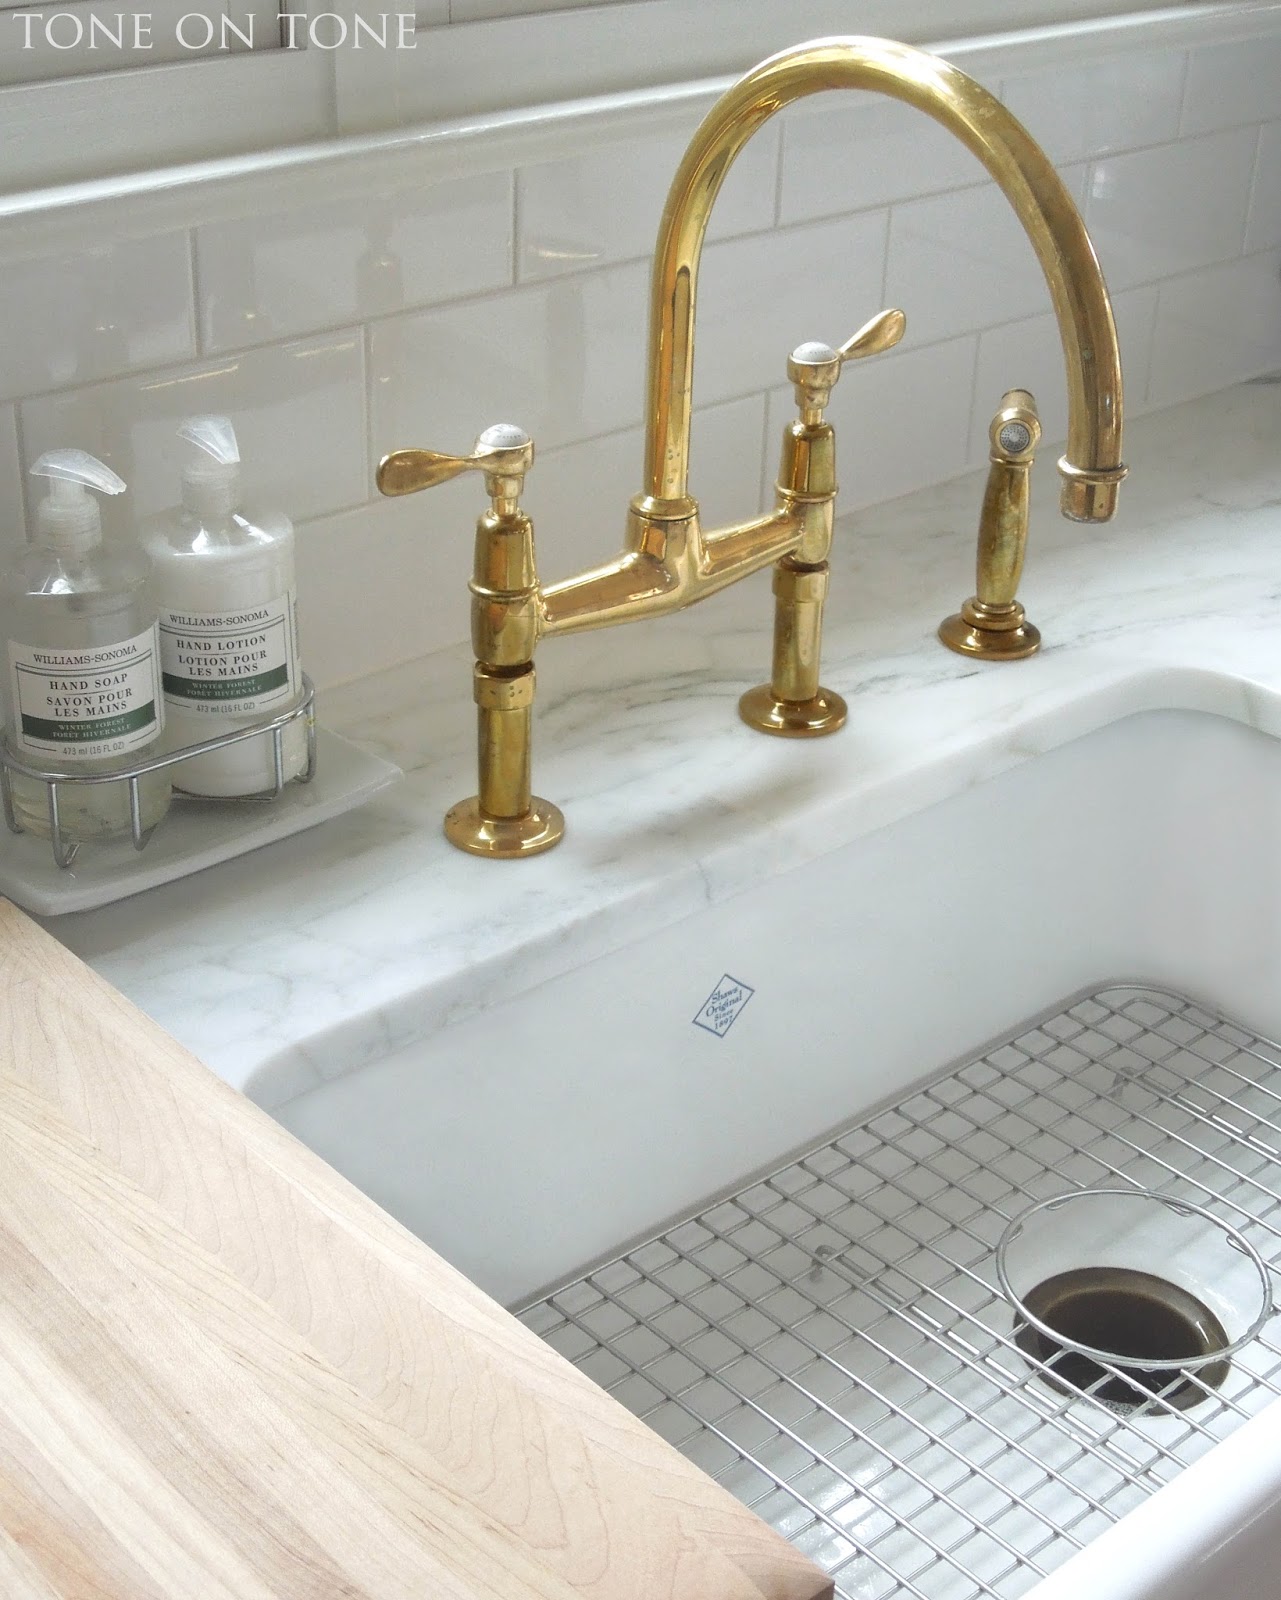
I’m guessing in a year or so, the patina on the faucet set will resemble the old brass knobs and bin pulls.
Now let’s check out that chalkboard. At 72″ high x 56″ wide, it makes a huge statement! Because of the custom size, we decided to make it ourselves. Okay, Ceane’s handyman helped…a little. Okay, a lot 🙂


Here’s what we did:
1) Used blue tape to mock up various sizes.
2) Selected already-primed stock moldings (window and door casings) for the frame.
3) Nailed the moldings to the wall. (Most lumberyards will miter cut moldings.) Then painted the frame.
4) After research, Ceane selected Rust-Oleum’s Specialty 30 oz. Flat Black Chalkboard Paint.
5) Applied 3 coats of paint, letting each coat dry completely. Tip: use blue tape to cover frame to keep paint off.
One final step I learned from Ceane: the entire chalkboard must be conditioned / seasoned by rubbing the side of a piece of chalk onto the painted surface; then the residue wiped away with a barely damp sponge or paper towel. Otherwise the first image drawn will be ‘etched’ in the painted surface, leaving a shadow even after wiping.

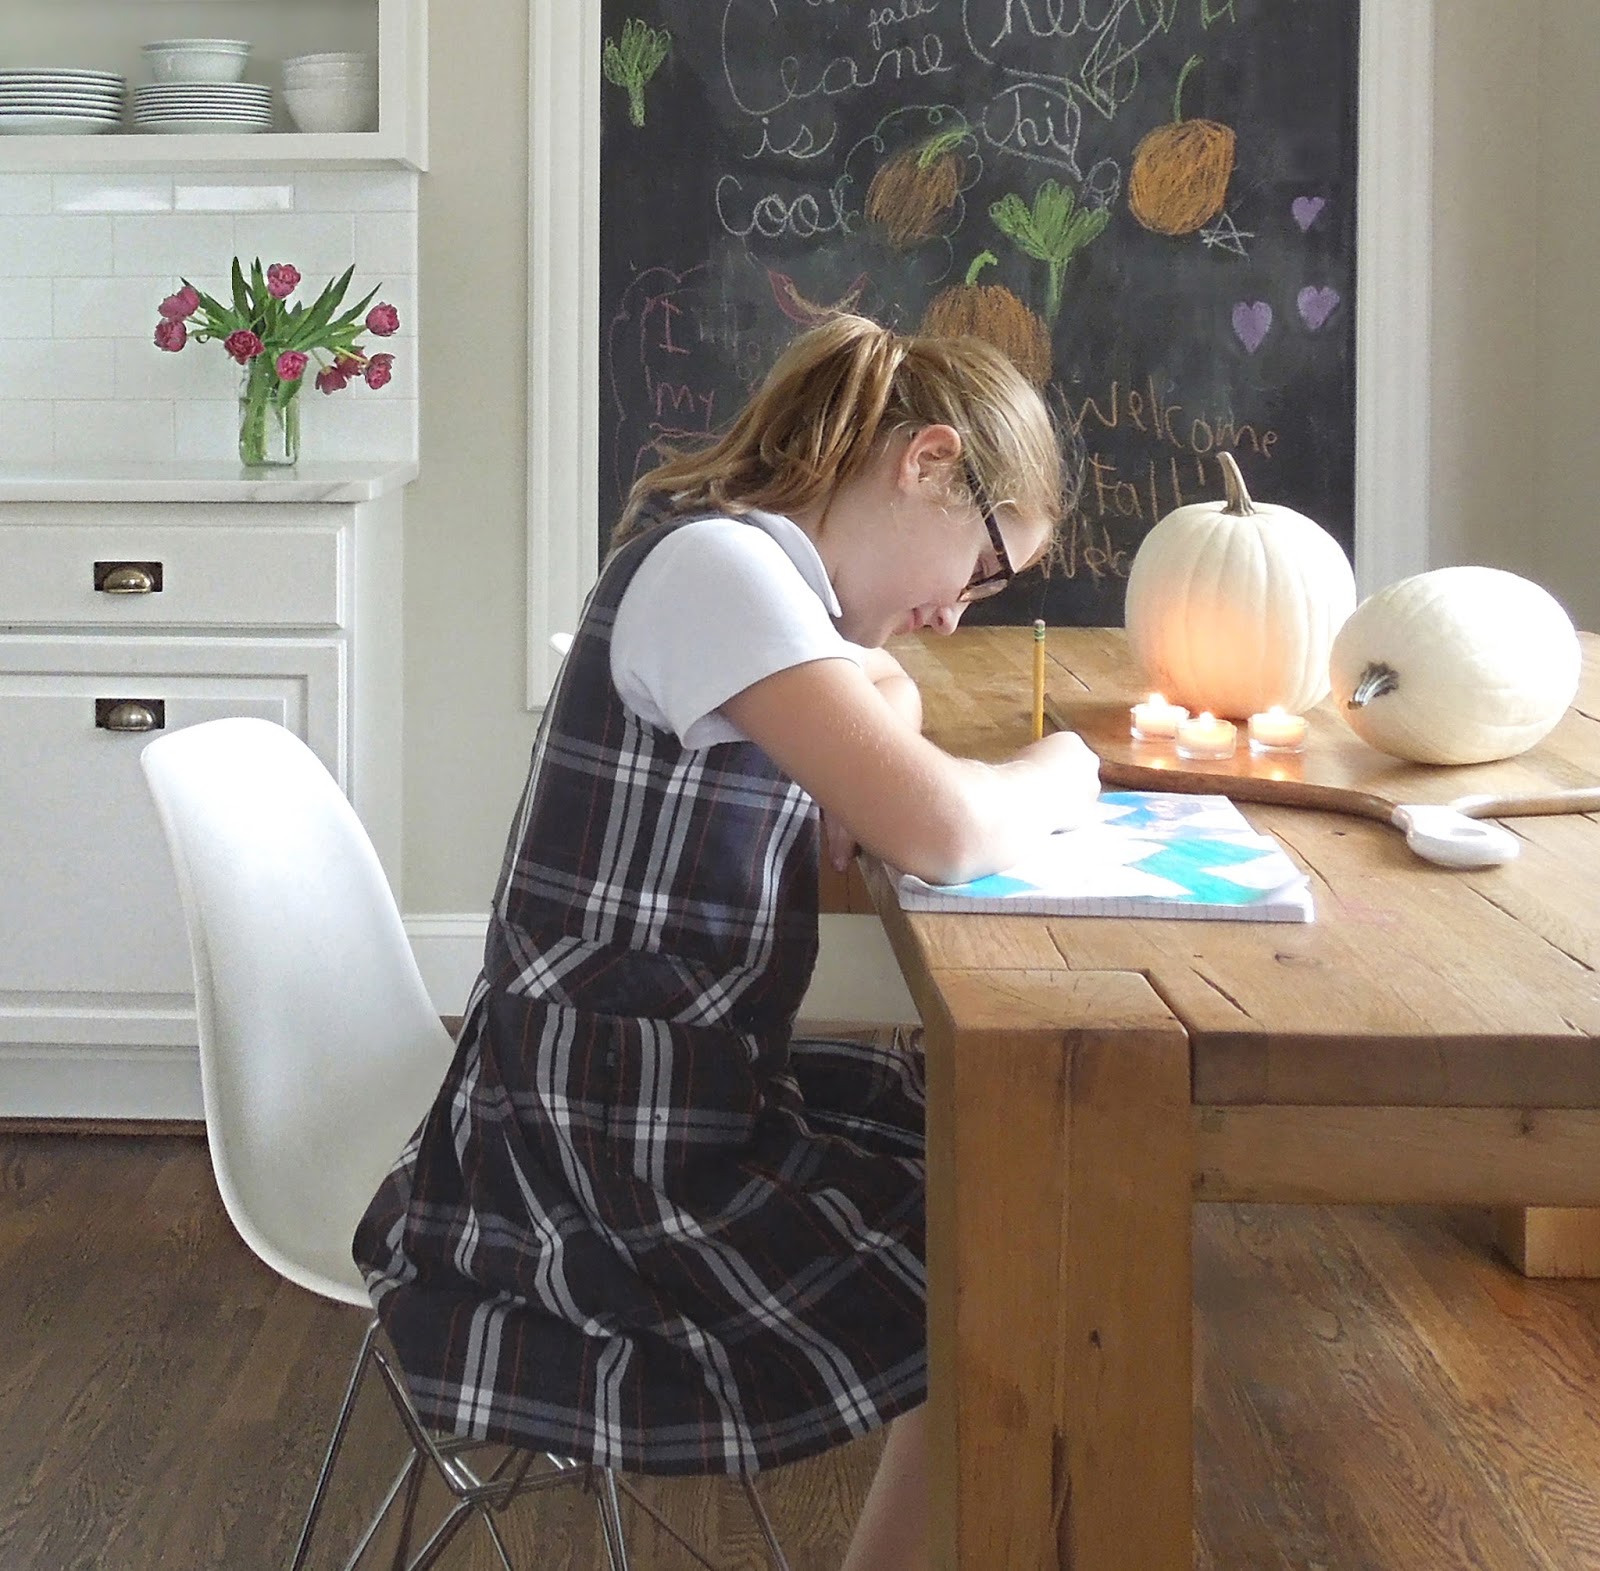
The kids could hardly wait for the paint to dry – didn’t take them long to start having fun! The chalkboard is also great for homework such as practicing for a spelling bee.


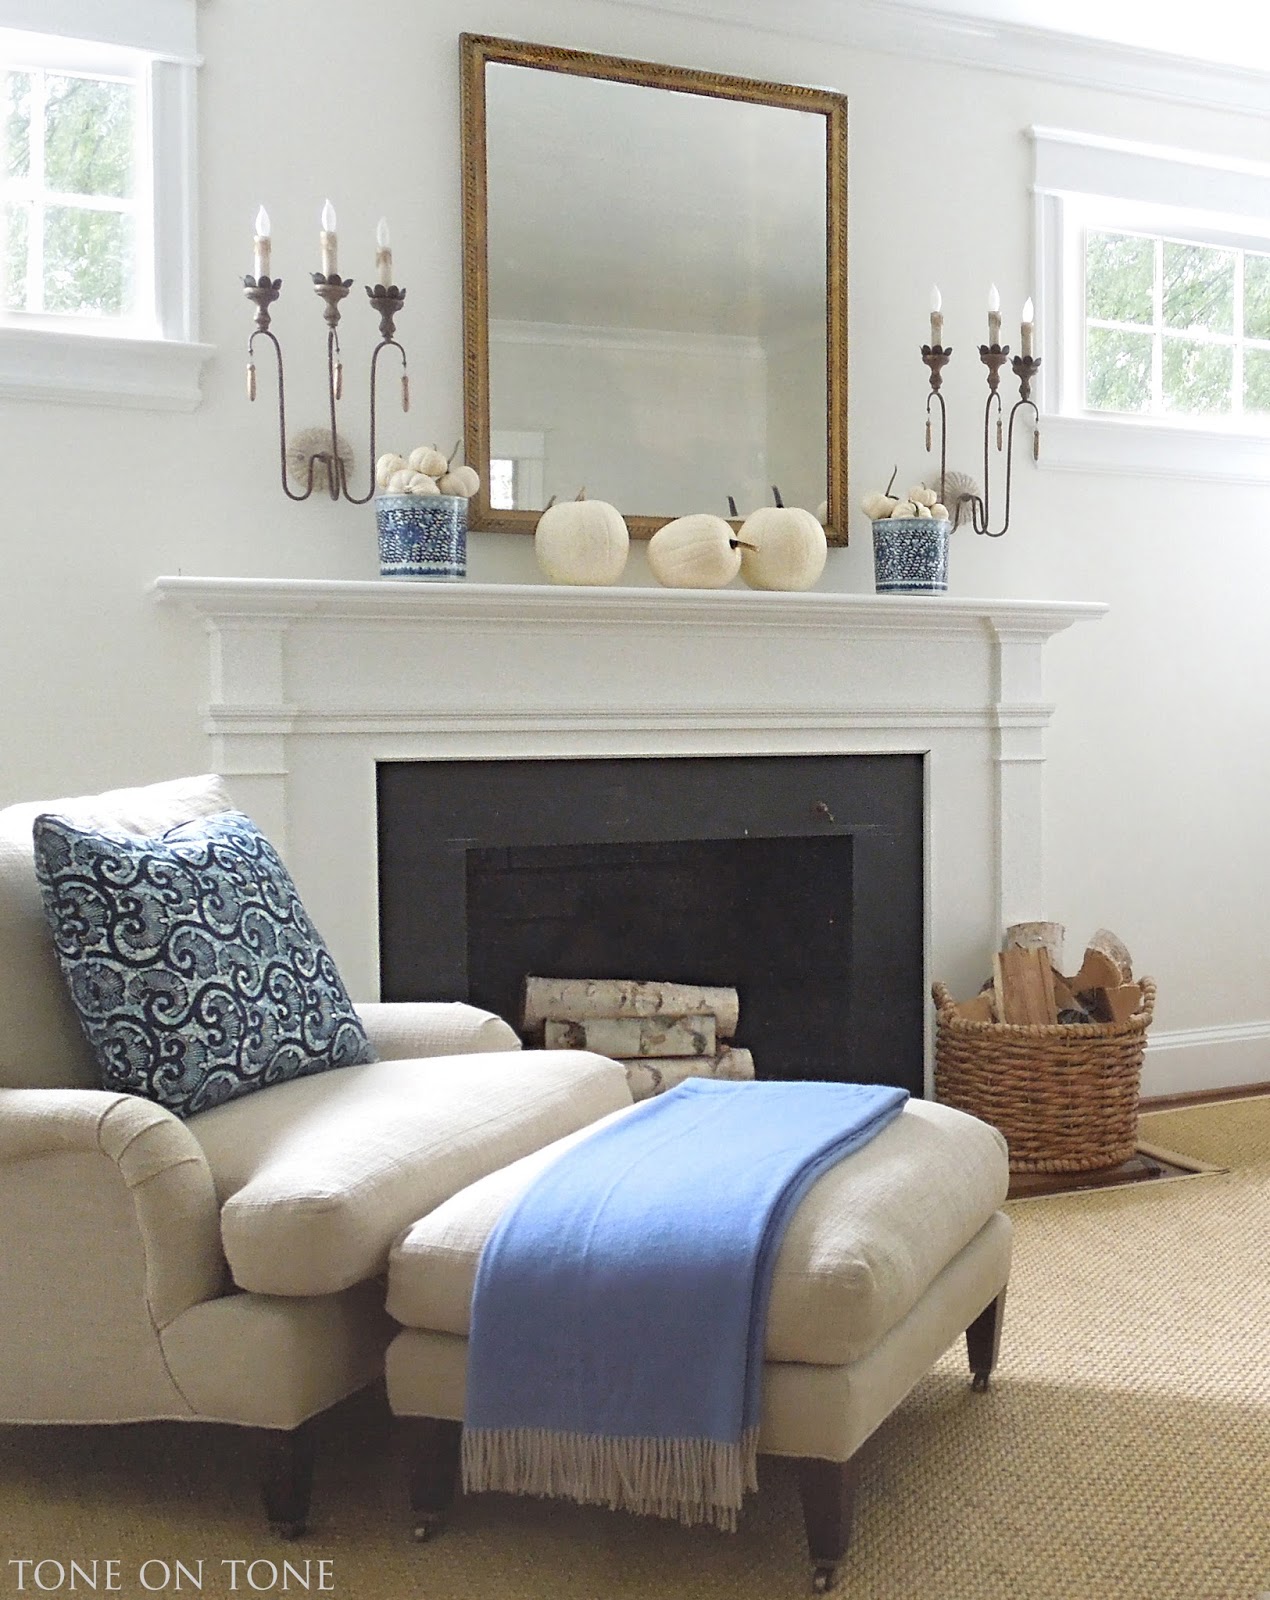
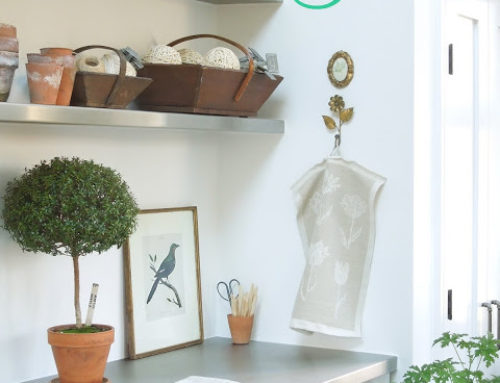
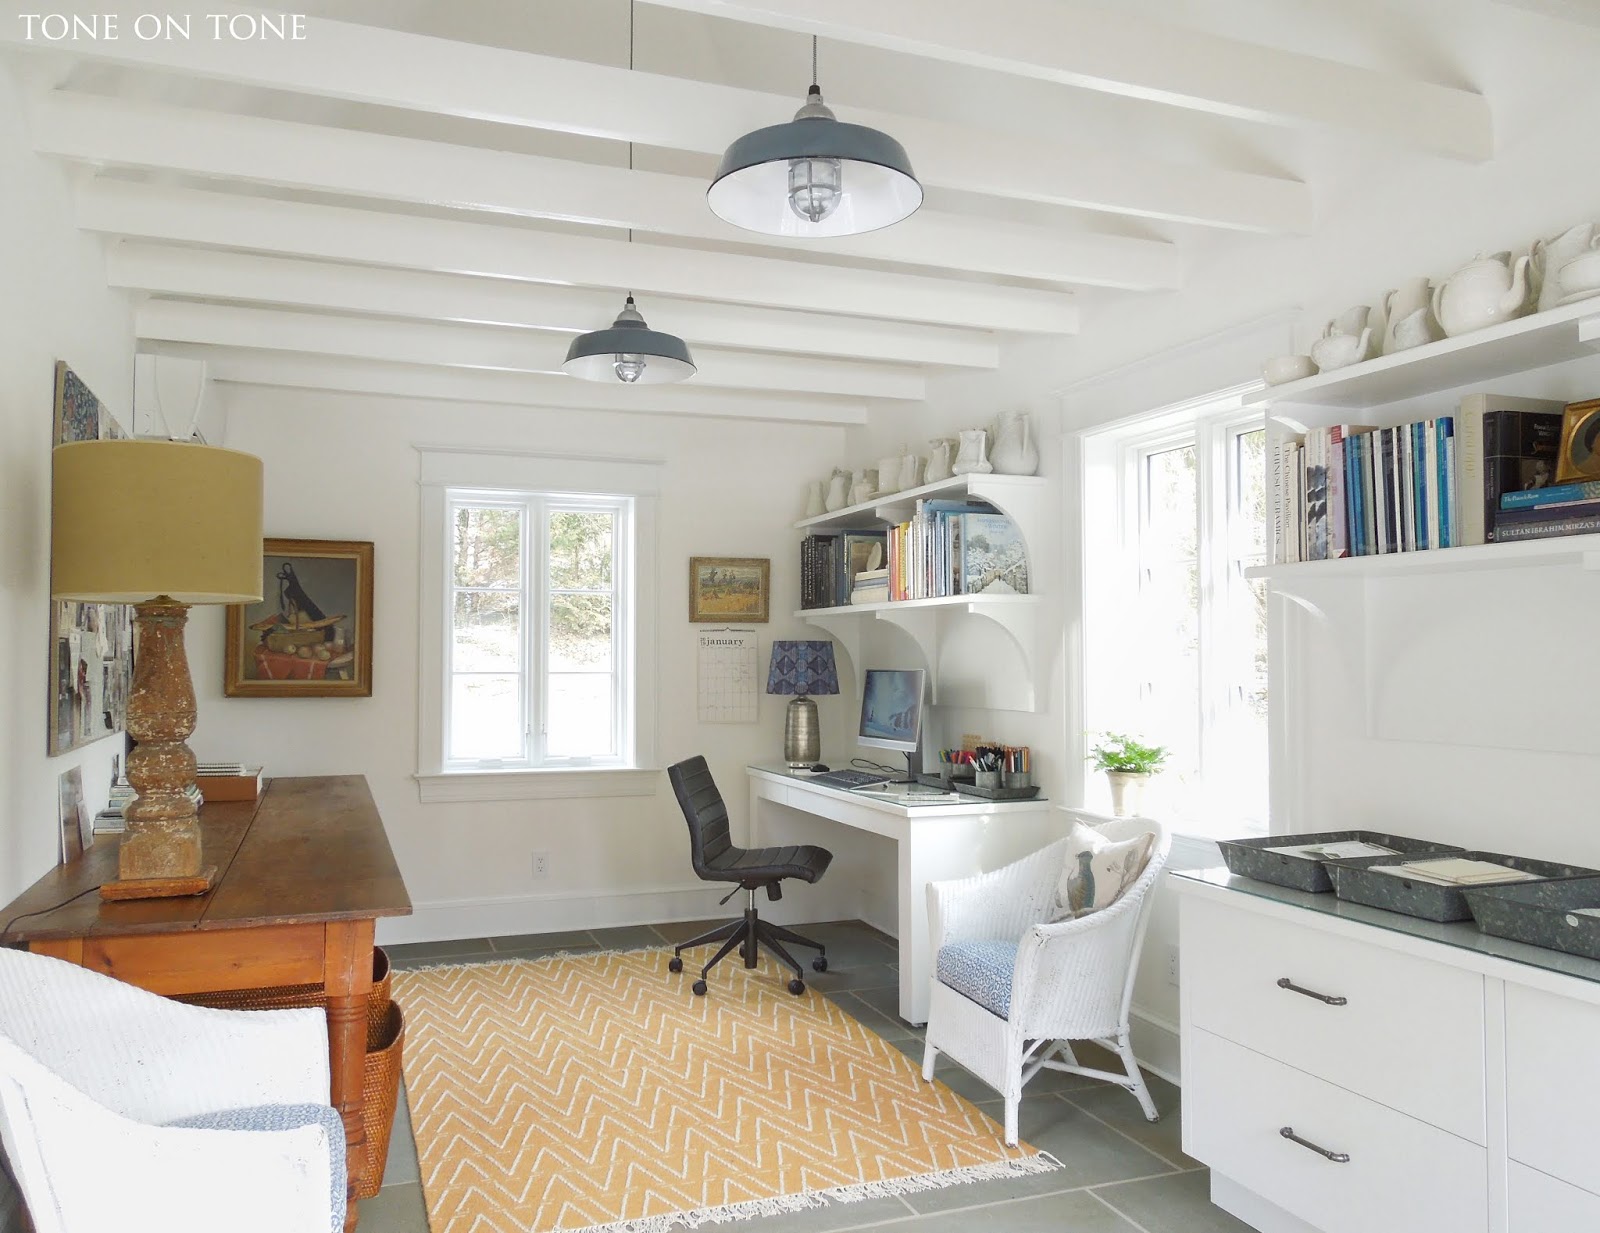
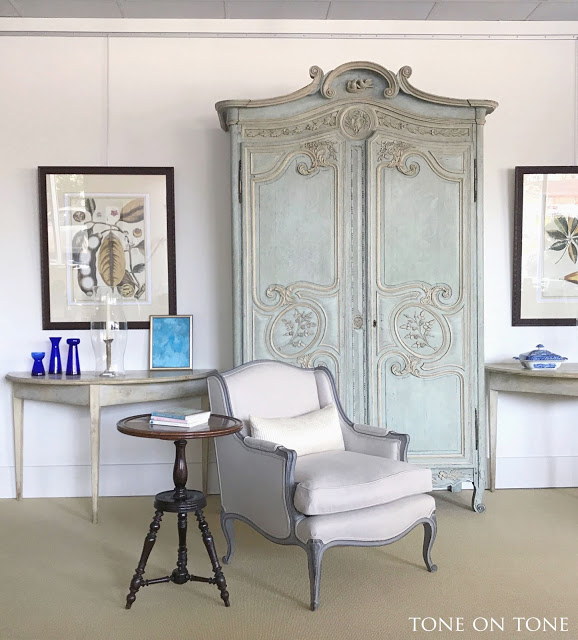
And wouldn’t it be cute to write the menu for a casual meal in the kitchen?While there photographing, I also did a little styling. Here’s a peek of the living room. By the way, Tom and I just installed this antique French gilded mirror from Tone on Tone. I gathered a bunch of white pumpkins and a couple of blue-and-white bowls, and voila: simple yet festive for fall!

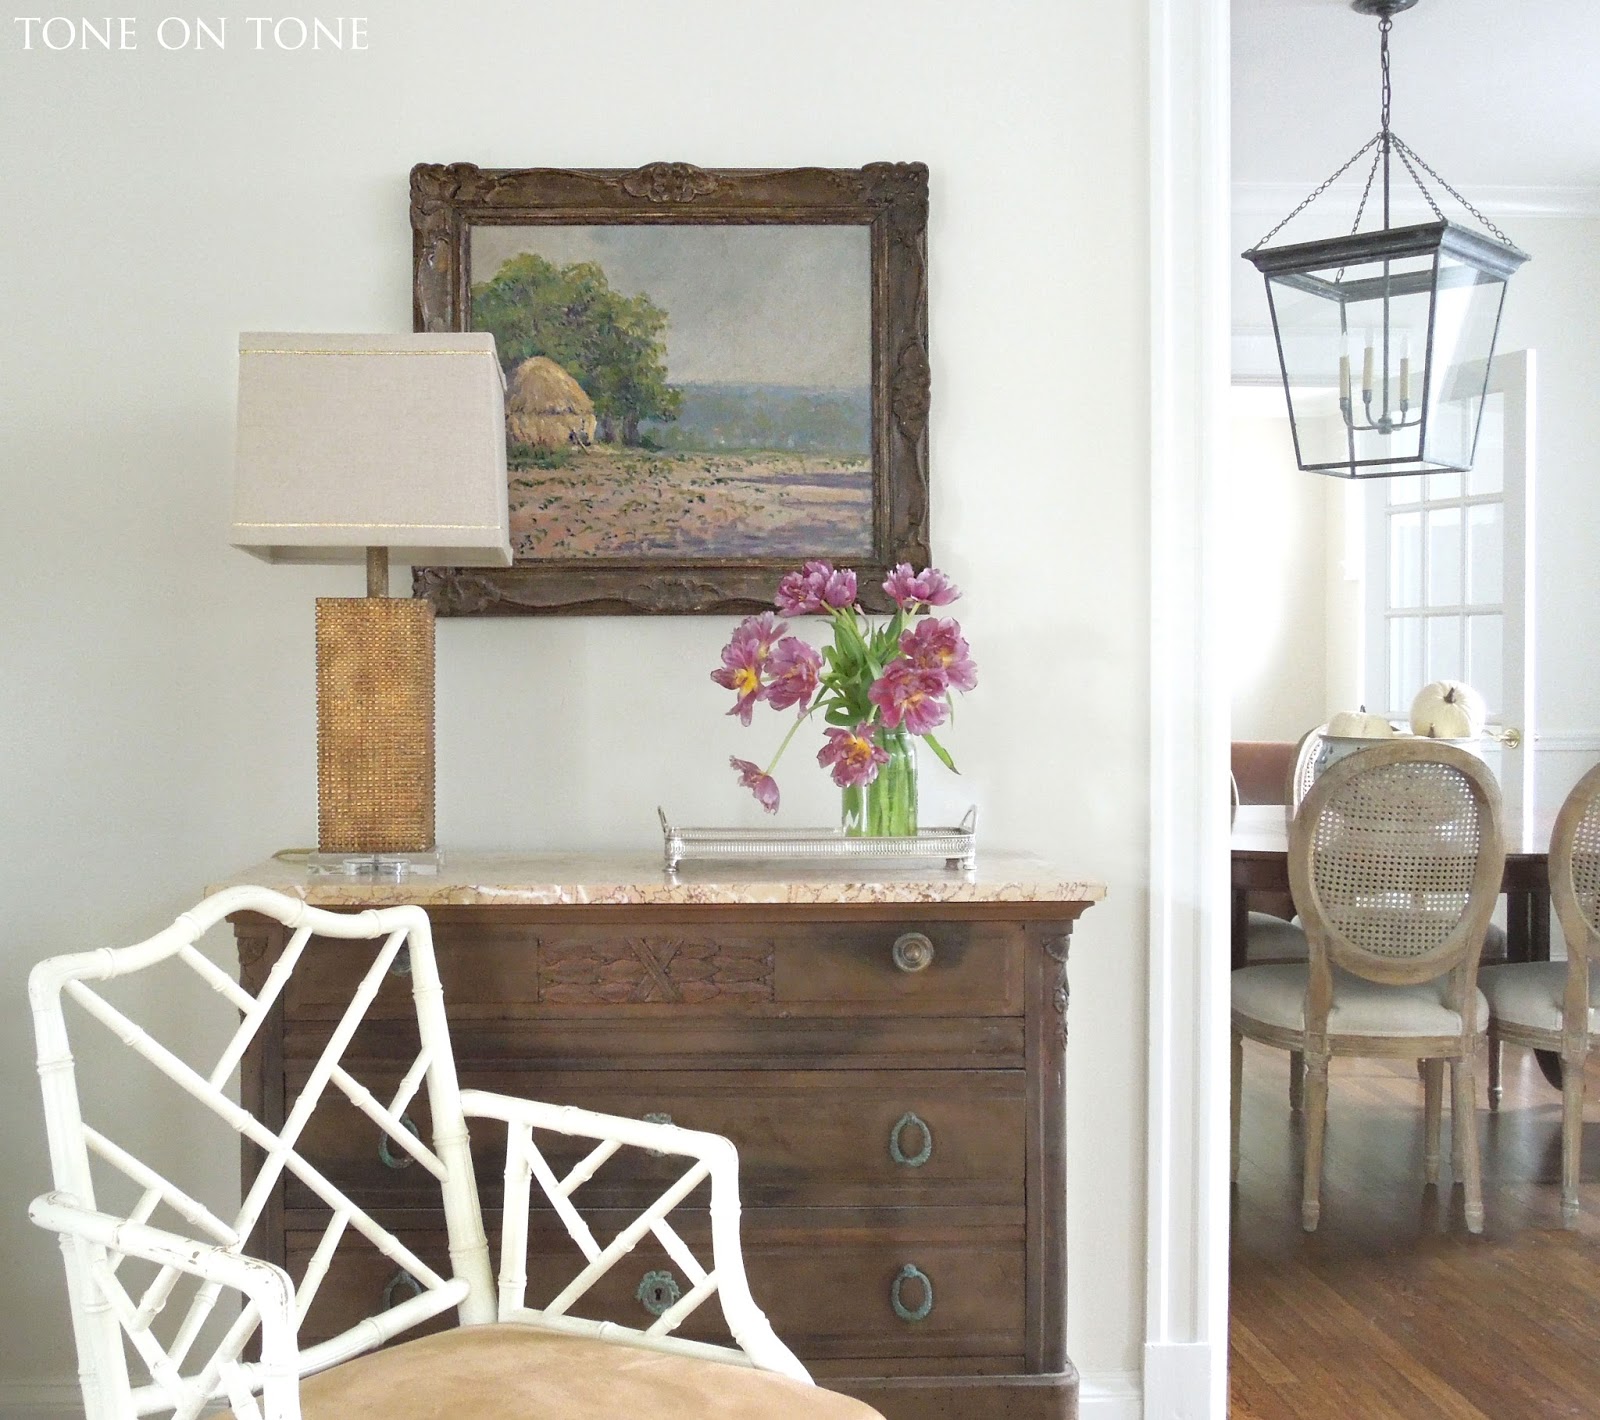
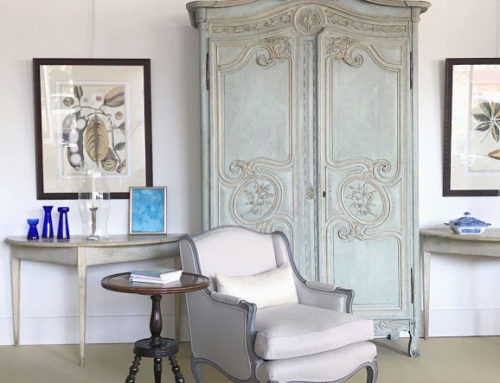
Do you remember my antique Moroccan coffee table and French haystack painting? A special thanks to our friend Ashley for her help in placing these pieces in this loving home 🙂
The sofa, clubchair and ottoman are from Crate and Barrel. Small footstool from Tone on Tone. Sconces from Aidan Gray. Indigo fabric on pillow is Jasper by Michael Smith. Dining room lantern from Circa Lighting. Paint color Swiss Coffee by Benjamin Moore.
I hope you’ve enjoyed seeing more of this beautiful home. Ceane, you’re the best – thank you!!
xo,
Loi

How fun for the children! I have a personal aversion to the feeling of chalkboards but you do them quite well! Love the blue and white porcelain with the pumpkins! So pretty!
very creative and nice idea..
Must see Real Estate Park City
This brought back childhood memories. We used to have a chalkboard in our former house for me and my brothers to play. I had fun using the different colours of chalk and playing with the eraser.
So clever! I love it….and could have used one in my day when my kids were younger, oh how they would have loved it. The brass patina is gorgeous….love a naturally aged look. Thanks for sharing Loi and hope you have a fabulous day.
Hello Loi, For those who dislike the feel or dust of chalk, I recommend white boards. Even the large ones are very inexpensive. I have an easel mounted one which I use constantly; with its high contrast and bright colors, it is ideal for jotting down sketches and notes, and developing plans.
–Jim
i just love this kitchen and that chalkboard. the mix of that table, which makes me weak in the knees, with those chairs is phenomenal.
The chalkboard is perfect – love everything you've done with that kitchen. And, now I want three white pumpkins!
loi, I find myself loving everything you do. I have often wondered…do you have a background in interior design and decor? Or is your eye for style and design something that just comes naturally to you? all the best, donna
Thanks so much!! You are the best, Donna 🙂 I was an accountant in a previous life. xoxo
Loi, the chalkboard is a perfect piece of evolving art. Great idea! I have a friend who did one in her dining room at her home in Santa Fe. It is large and framed with an ornate gold frame. She has quotes for the event or time of year. Love it! Love the simplicity of the mantel too. 😉
That is wonderful, my kids would have loved something like that when they were young.
A genius idea for a gorgeous kitchen!
Hope you and Tom and doing well.
xo
Patty
I love the idea for art and organization…your client's kitchen revamp looks amazing. Love the brass faucet and the countertops…fabulous!!
What an excellent artistic idea Loi!
Perfect a family like theirs and it does make a great statement!!
xoxo
Karena
The Arts by Karena
Parish-Hadley Tree of Life
You are a GOOD TWEAKER!!! LUV that faucet – on my bucket list!! franki
A masterpiece my friend, Un chef-d'oeuvre, Un coup De génie!!!! Love love love the chalkboard. There is a casual elegance that is timeless!!!
I love the chalkboard in this pretty family kitchen. What a great idea to have a bold, creative wall space that can be wiped clean. I can remember in school what a rare treat it was to able to write on the chalkboard – the kids must be loving it!
Hi Loi…..HAPPY FALL….xoxo Mary
We had a chalk board in our last house which we used to keep a running grocery list -i miss that! We just moved back into our house after a 7 month long renovation and thats the one thing I Forgot -a small chalk board for lists!! I wish now I had put it on the refrigerator panel instead of painting it the color of the cabinets. Oh well -live and learn!
That chalkboard is such a good idea Loi! We had one in our hallway when my daughters were younger. Although they are all in their twenties now, they still regret it not being there anymore. 🙂 The kitchen makeover is beautiful! Love the modern/classic mix.
Have a good week!
Madelief x
Always so much fun to see your special touches, Happy Monday!
xo Kathysue
Gorgeous. Love the pop of blue – very fresh looking.
How did I not know that you have a blog before Loi?!! I love this and that gorgeous marble is to die for! xo, Janet
Welcome and thanks for visiting, Janet!! xoxox
I predict chalk boards in many kitchens across the States now Loi – it is a great idea and looks attractive too.
What a great, classic kitchen, someplace to create and cavort for years! The chalkboard that doubles as a menu board at night/ and a place to practice spelling words by day is brilliant!
Loi. A dear friend of mine had a long hallway to bedrooms with extra wide entry but wasted space for anything to display except for each end of this lengthy hallway, well se took and painted a Grey chalk board with the grey slate paint the total length of the hall from doorway to doorway it must have been 8 feet long and eight foot in higth, it was a chalk board for her two hand kids to create at and keep them out of the way for hours, not out of the way persay but busy 🙂 you know what I mean?
This home I have followed in your much older and newt postings and loved and love everything about it, the addition of a blackboard wall framed in adds a softer more family used area to its modern farmhouse feel of formality.
Bravo to your design choice.
Love all you inspire, and so looking forward to the holidays with you as always.
Xx
Dore
Love this kitchen even more than the first time you shared it! And the chalk board is genius. Also, loving the pretty living room! xoxo
Loi,
You are extraordinarily talented! I love the kitchen and the chalk board is such a clever way to provide "art" for the kitchen by the most precious artists…your client's children. I love the styling on the mantle. Don't you just love this pumpkin season?!
xo,
Karen
Loi,
You are extraordinarily talented! I love the kitchen and the chalk board is such a clever way to provide "art" for the kitchen by the most precious artists…your client's children. I love the styling on the mantle. Don't you just love this pumpkin season?!
xo,
Karen
Now, this is a lovely post to come home to after being away from home and my computer for many days….LOVE Ceane's home and that chalkboard is great….gorgeous mantel …. simply elegant. And must say that I am crushing over that faucet….looking forward to seeing what it looks like in the future!….Have a great week!
Definitely! Iw ant to see al of it! It's gorgeous and that chalkboard is the perfect touch, I'm actually thinking of doing a huge chalkboard on the lower half of a wall in the kitchen for sophia! Love all the pieces she luckily acquired from Tone on Tone!
love the kitchen + and the chalk board. xxpeggybraswelldesign.com
Loi, YES to your DIY example. Years ago we did this in the bedrooms of our Grands, well my son did … Huge and inspired, their creativity housed inside a salvaged vintage frame on their longest wall in their bedrooms. i adore blackboard, my kitchen door is painted with blackboard paint and so is my backsplash. Creativity is invited and fun expression begins.
Love the mantel and your Autumn essence of beauty. Come enter my giveaway it is a fun one.
xo,
Vera
Hi Loi,
What a statement this makes in a white kitchen…….like a large dramatic piece of art!!! Congrats, great idea!
Holly
I love the idea of a giant chalkboard in the kitchen. I wanted to pain a small wall in mine entirely in chalk paint, but hubby wouldn't go for it 🙁
Who would've thought the chalkboards would become such a welcome addition to homes? I've noticed they do provide a great way for family members to communicate with one another. A little tweaking from you would make any place look better.
Loi, beautiful design job and styling. Love the serene living room and simple but elegant mantel! Happy October. xo Nancy
Loi, you are truly blessed with your multitude of talents! And we your readers are blessed to be able to take in all of the beauty that you create! I love this chalkboard and I love the styling with the white pumpkins!
I hope that you are enjoying Fall!
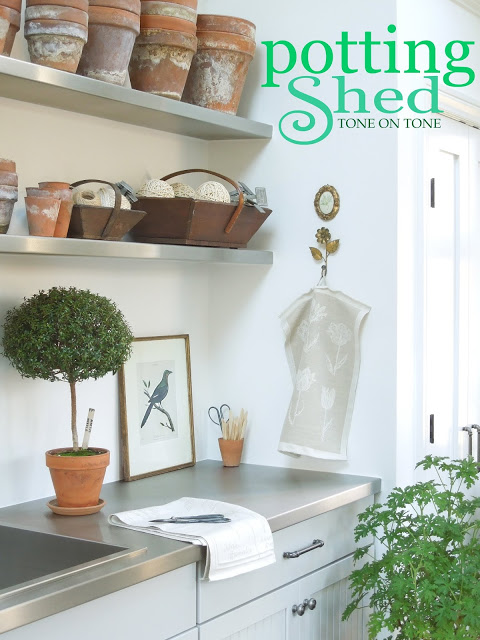
Hi, Loi, A great posting, and as always, so many details to take in, like that custom mesh resting inside the sink!
I like the wood products. They make your house the warm and comfortable area.
Love this, Loi. Happy Fall!
Xo
Keri
What a great addition to that lovely kitchen for the kiddies. Love the living room as well. I adore that Michael Smith fabric. I am thinking about using it in my game room in the brown colorway.
Always amazing Mr. Loi!
This house is just gorgeous! Love the blue pillow on the club chair. I just read your kitchen transformation post – it is amazing how fresh and updated it looks, just by changing out those counters and backsplash!
Nice idea! So clever and very creative! I love it. Thanks for sharing!
I love this idea…great for a family to keep track of everything that goes on!
this DIY chalkboard is amazing! good for children who loves writing on wall 🙂
Love everything you've done. Perfect art! Gorgeous photo of the blue and white porcelain with the pumpkins! Thanks!
This is such an excellent idea Loi!… I've passed it on to my daughters! Also so interested reading the kitchen re-do. One can keep the carcasses and simply replace the other elements. Kitchens are so expensive and this is an excellent solution! Love your posts as always. Love Jenny
Loi, this kitchen is worming its way into my heart! Beautiful work!
I have been a reader of your blog for sometime and thoroughly enjoy it. My husband and I are going to remodel our unfinished basement and I came across your November 12, 2014 posting of your basement renovation. Fabulous! You mentioned at the end of that post that you would also share the bedroom, bath and workshop. I have tried in vain to locate your post about that phase of your project. Could you please tell me when that was posted? Thanks so much.
Hello! I'm so glad you enjoyed our basement renovation. It was published in the Washington Post this past summer. I also did an online chat. You can see more photos (bedroom, bath, etc) online. Good luck with your renovation.
Nice post!! Its really great idea. I am also looking for this type and also going to contact "ipcrenocrew(dot)ca" with this idea for my home. thinks
Hi, I love the style. Where did you get the dining room table?